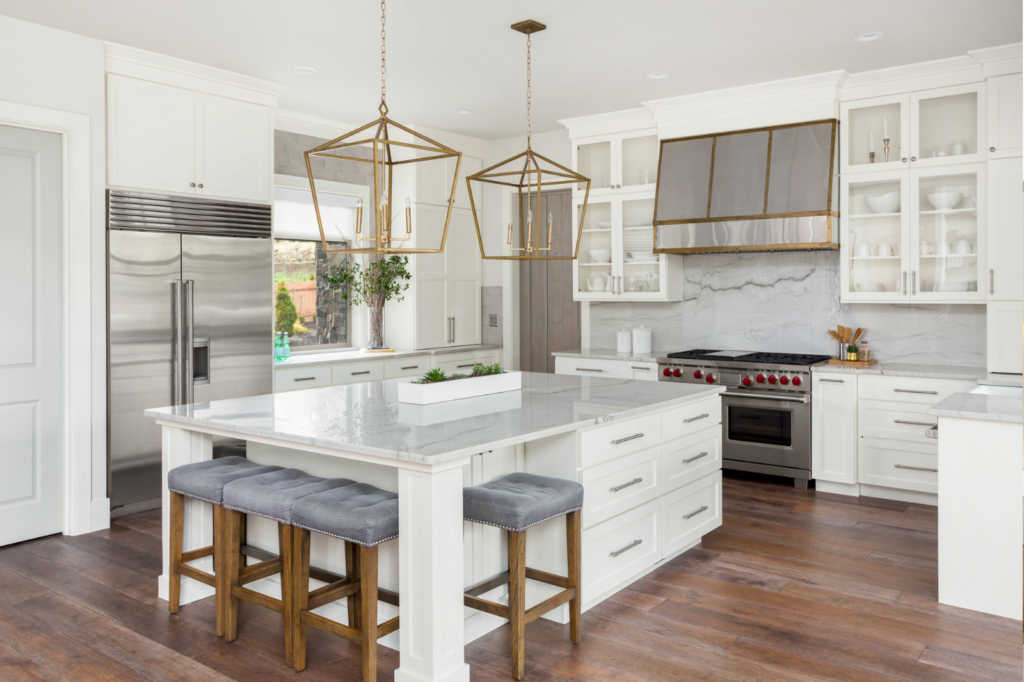

New windows and doors do more than freshen curb appeal—they improve comfort, cut drafts, and make daily living easier. In Grimes homes, the best replacements start with the right entry door system, energy-smart glass and frames, and a careful installation that seals out air and water. This guide covers planning, product choices, install basics, care, and what to expect with a coordinated project.
What to Expect → | Our Process →
Key Takeaways
- Measure and plan first—sizes, swing/handing, egress, and trim details—then choose styles and finishes.
- Energy performance comes from the whole assembly: frame, glass, spacers, weatherstripping, and install.
- Proper flashing, sealants, and insulation around the unit matter as much as the unit itself.
- Entry doors feel solid when the slab, jambs, threshold, and hardware are specified as a system.
- Coordinate interior/ exterior trim so replacements look original to the home.
Plan Your Replacement (Before You Pick Styles)
- Openings & sizes: Verify rough openings, wall thickness, and jamb depths so units fit without awkward extensions.
- Operation & swing: Choose casement vs. double-hung vs. slider for windows; confirm door handing and swing clearances.
- Code & egress: Bedrooms need compliant egress windows; confirm landing/threshold requirements at exterior doors.
- Screens & shades: Decide on integrated screens or shade solutions early to avoid conflicts with hardware and casings.
- Trim language: Match or upgrade casing/base styles so replacements tie into the rest of the house.
Entry Doors: First Impressions, Everyday Function
- Door systems: Specify slab + frame + threshold + weatherstrip as one package for a tight seal and smooth close.
- Materials:
– Fiberglass: Durable, low-maintenance, great for realistic woodgrain with stain or crisp paint.
– Steel: Strong and economical, best with quality paint and protected exposures.
– Wood: Unmatched warmth—plan for finish upkeep and a protective overhang. - Glass & privacy: Clear, frosted, or decorative lites; consider sidelites and transoms for natural light without exposure.
- Hardware: Multi-point locks improve seal and security; lever sets and smart locks add convenience.
- Thresholds & sills: Low-profile, thermally broken thresholds reduce drafts and tripping hazards.
Energy Performance: Glass, Frames, and Air Sealing
- Frames:
– Fiberglass or composite: Stable and efficient with minimal expansion/contracting.
– Vinyl: Cost-effective; look for reinforced sash and good weatherstripping.
– Clad wood: Warm interior with durable exterior; verify maintenance expectations. - Glass packages: Dual or triple-pane with low-E coatings and argon/krypton gas fills—choose packages based on orientation and comfort goals.
- Warm-edge spacers: Reduce condensation risk at glass edges.
- Weatherstripping & seals: Continuous bulb or fin seals at operable parts; compression seals on doors for an even close.
- Installation matters: Foam and backer rod with flexible sealants at perimeters complete the thermal/air layer.
Installation Basics: What “Crafted & Weathertight” Looks Like
- Remove & prep: Careful demo to protect interior finishes; verify plumb/level/square; correct any rotted or out-of-true framing.
- Flash the opening: Pan flashing at sills, self-adhered flashing at jambs/heads, and proper integration with housewrap.
- Set the unit: Shim at hinge/lock points; fasten per manufacturer; confirm reveals and smooth operation.
- Air seal & insulate: Low-expansion foam around frames; backer rod + flexible exterior sealant; interior air seal behind casing.
- Trim & touch-up: Match existing casing profiles; repaint or re-stain as needed; verify hardware alignment.
- Final checks: Test locks/latches, weatherstrip compression, smooth sash travel, and water-shed away from sills.
Our Process → | Trim Carpentry →
Care, Warranty & Timeline
- Everyday care: Keep tracks/threshholds clean; a light silicone on weatherstrips and hinges as recommended.
- Finish upkeep: Wash exterior frames; recoat wood units per finish schedule; touch up paint at high-traffic handles.
- Condensation tips: Maintain indoor humidity, use continuous exhaust/ventilation, and ensure proper window coverings.
- Typical durations: A straightforward door swap can be a half day; a window package may span 1–3 days on site depending on count and trim work. Complex reframing adds time—locking selections early keeps schedules tight.
What to Expect with Reese Builders
- One cohesive plan: Sizes, operation, energy packages, and trim specified together so replacements look original to the home.
- Visible craftsmanship: Tight reveals, smooth operation, clean sealant lines, and painter-ready trim.
- In-house capability: Door systems, window packages, and interior trim under one roof for better control.
- Clear communication: Milestones, ordering lead times, installation sequencing, and site protection outlined up front.
Our Process → | Service Areas →
Helpful Links from Our Blog
- Custom Trim Carpentry Des Moines: Crown, Wainscoting & Millwork →
- Home Remodeling Timelines in Des Moines →
- Why Reese Builders Is Central Iowa’s Choice for Luxury Home Remodeling →
Ready for quieter rooms and a better first impression?
Tell us how many openings you’re replacing, your style goals, and any comfort issues (drafts, condensation, noise). We’ll design a window and door package that looks great and performs.
FAQs
Q: Do I need to replace all windows at once?
A: Not necessarily. Many clients phase by elevation or floor. We match profiles and finishes so phases look seamless.
Q: Will new windows actually reduce drafts?
A: Yes—when the unit and the install both focus on air sealing (frames, weatherstrips, and perimeter foam/sealants).
Q: Fiberglass, vinyl, or clad wood—which is best?
A: It depends on budget, aesthetics, and maintenance preferences. We’ll compare options against your goals and exposures.
Q: Can we keep our interior trim?
A: Often, yes. Careful demo and matched casings preserve the original look; or we can upgrade trim for a refresh.
Q: How long does a typical door or window install take?
A: Many entry doors swap in a half day; a standard window replacement runs 30–90 minutes per opening once prep is done. Complex reframing or trim upgrades add time.