
Crown molding is the quiet detail that makes rooms feel finished. In West Des Moines homes, the right profile and scale can visually “lift” the ceiling, soften transitions, and tie together casings, base, and built-ins. This guide covers planning, profiles and sizing, where crown shines, install basics, care, and what to expect with a coordinated trim plan.
Custom Pieces → | Trim Carpentry →
Key Takeaways
- Choose a trim language first; then select crown profiles that match your home’s style and ceiling height.
- Proper scale matters: slimmer in 8′ rooms, layered in taller spaces; keep reveals consistent at casings and cabinets.
- Inside corners should be coped, not just mitered; movement joints and clean terminations are what make it read “custom.”
- Crown looks best where it links elements—built-ins, mantels, beams, and paneling—for a continuous, architectural look.
- Sequence installation with paint, ceilings, and any cabinetry for the tightest finish.
What to Expect → | Our Process →
Plan Your Crown (Before You Pick a Profile)
- Ceiling height & style:
8′ ceilings favor a single, crisp profile; 9–10’+ can carry stacked assemblies or a backband. - Sightlines & terminations:
Decide where crown dies into beams, cabinets, or a return—balanced terminations keep the room calm. - Casings & base:
Size crown in relation to door/window casings and baseboards so proportions feel intentional. - Room function:
Formal spaces tolerate bolder profiles; streamlined spaces (kitchens, offices) read best with simpler shapes. - Future add-ons:
If built-ins or a mantel are coming later, pick a crown that integrates cleanly.
Trim Carpentry → | Custom Pieces →
Profiles & Scale: Getting the Look Right
- Single-profile crown: Clean cove or ogee for modern/transitional rooms; easy to keep light at 8′ ceilings.
- Stacked crown: Combine crown + frieze + backer for depth in taller rooms or formal dining.
- Stepped or shadow-reveal: Minimalist look with a small reveal below the ceiling plane.
- With backband: Adds thickness to match beefier casings and headers.
- Proportion guide (quick cues):
• 8′ ceilings → ~3–4½” overall height
• 9′ ceilings → ~4½–6″
• 10′ ceilings → ~6–7″+ (often stacked)
Keep wall/ceiling colors close if you want the room to feel taller.
Best Rooms for Crown (and How to Use It)
- Living rooms & great rooms: Tie crown into mantels and media walls so the focal wall feels built-in.
- Dining rooms: Picture-frame molding or wainscoting below + proportionate crown above = classic, tailored feel.
- Primary suites: Slim crown softens vaulted ceilings; consider a shallow cove at tray ceilings.
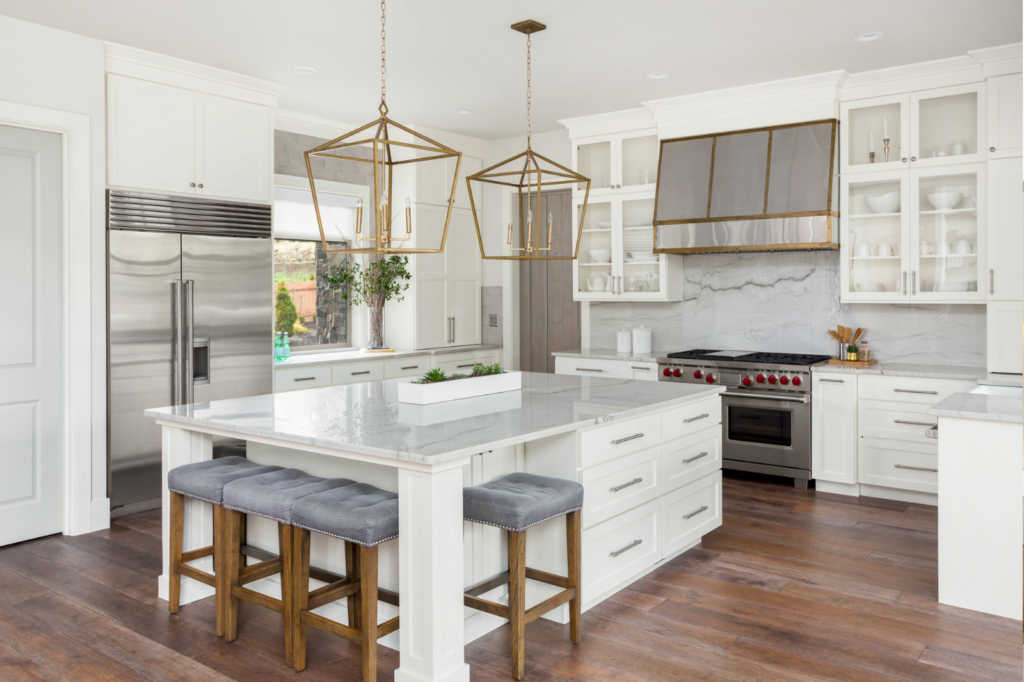
- Kitchens: Use restrained profiles; align crown at cabinet tops or a ceiling riser for a furniture-grade finish.
- Halls & entries: Crown plus consistent casing/base makes small spaces feel intentional.
Custom Pieces → | Trim Carpentry →
Install Basics: What “Crafted” Looks Like
- Substrate prep: Plane high spots, shim low; tight joints start with flat walls and true corners.
- Layout & reveals: Keep reveals consistent at cabinets and casings; balance returns at short walls.
- Coped inside corners: Cope one leg into the other so seasonal movement doesn’t open the joint.
- Fastening & fill: Pin where needed, glue strategic joints, sand/caulk for painter-ready seams.
- Sequencing: Coordinate with ceiling paint and any built-ins so profiles meet perfectly.
Finishes, Care & Timeline
- Paint-grade: Primed maple/poplar takes enamel smoothly; great for wipeability.
- Stain-grade: Oak/ash/walnut for warmth—pair with matching headers or beams.
- Care: Dust with microfiber; light caulk/paint touch-ups over time handle hairline movement.
- Typical durations: A single room can install in 1 day plus paint; whole-floor packages or stacked assemblies add time. Early selections keep schedules tight.
What to Expect with Reese Builders
- One cohesive plan: Crown sized to your ceilings and aligned with casings, cabinets, and any paneling.
- Visible craftsmanship: Clean copes, tight miters, and painter-ready surfaces.
- In-house capability: Built-ins, mantels, beams, and wall treatments that share the same trim language.
- Clear communication: Milestones, sequencing, and site protection outlined up front.
What to Expect → | Service Areas →
Helpful Links from Our Blog
- Custom Trim Carpentry: Add Character to Your Des Moines Home →
- Bathroom Remodel in West Des Moines: Showers, Ventilation, Tile →
- Home Remodeling Timelines in Des Moines →
Ready to give your rooms a finished edge?
Tell us your ceiling heights and style goals—we’ll size profiles, plan terminations, and integrate crown with nearby built-ins and casings.
FAQs
Q: Will crown make my 8′ ceilings feel shorter?
A: Not if scaled correctly. Choose a slimmer profile and keep wall/ceiling colors close to visually lift the room.
Q: Can you match existing trim?
A: Yes—we source or custom-mill profiles so new crown blends with your current casings and base.
Q: Should kitchens get crown?
A: Yes—use a clean profile and align with cabinet tops or a ceiling riser for a furniture-grade look.
Q: Paint or stain?
A: Paint-grade is crisp and wipeable; stain-grade highlights grain for a warmer, traditional feel. Many homes mix both strategically.
Q: How long does a typical room take?
A: Often one day for install plus paint; stacked crown or whole-level packages add time. Early profile selection keeps timelines tight.